Manage Team Invitations
Check an invite, send it again, or cancel it.
Last updated About 2 hours ago
Check an invite, send it again, or cancel it.
For center admins using Bloomily on a computer. The orange outline shows where to look or click.
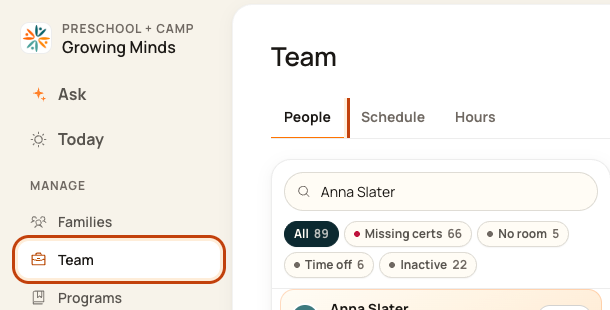
1. Open People
Click Team on the left. Then click People.
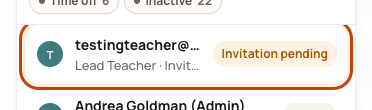
2. Open the invite
Click the row marked Invitation pending. Check the email, expiry date, and email status.
3. Choose what to do
Click Copy invite link to share the link with that person. Click Resend to renew it. Click Revoke to cancel it.

4. Check before resending
Check the email in the form. Click Resend invitation when it is right. The same code lasts another 14 days.
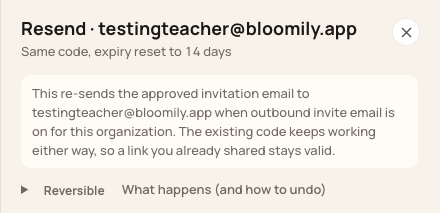
At the bottom of the form:

Good to know
If the email was blocked or the address is wrong, follow the message on the invite. Do not keep resending to a bad address. Revoke the old invite and create one with the right address.
Check when you are done
Reopen the invite and read the new status. Revoke stops its code from working. It does not send an email.
Walkthrough: Resend Team Member Invitations in Bloomily
Open Team and find the pending invitation.
Check the invited email address and choose Resend.
Review and confirm Resend invitation, then read the result.
Resending an invitation does not mean the person accepted it. Check the invitation’s status and correct the email address if needed.
The recording uses one center’s example data and settings. Names, amounts, dates, counts and policy choices are examples. Follow the written guidance above where recording labels differ.
Was this helpful?