Creating and Using Menu Templates
Save a useful week as a reusable menu template, then apply it to another month.
Last updated About 2 hours ago
Save a useful week as a reusable menu template, then apply it to another month.
Workflow: Review source week → Save template → Apply to month → Review drafts → Publish
1. Save a source week
In Meals → Menus, choose Plan tools → Templates → Save a week. Enter a descriptive Template name and select the Capture week.
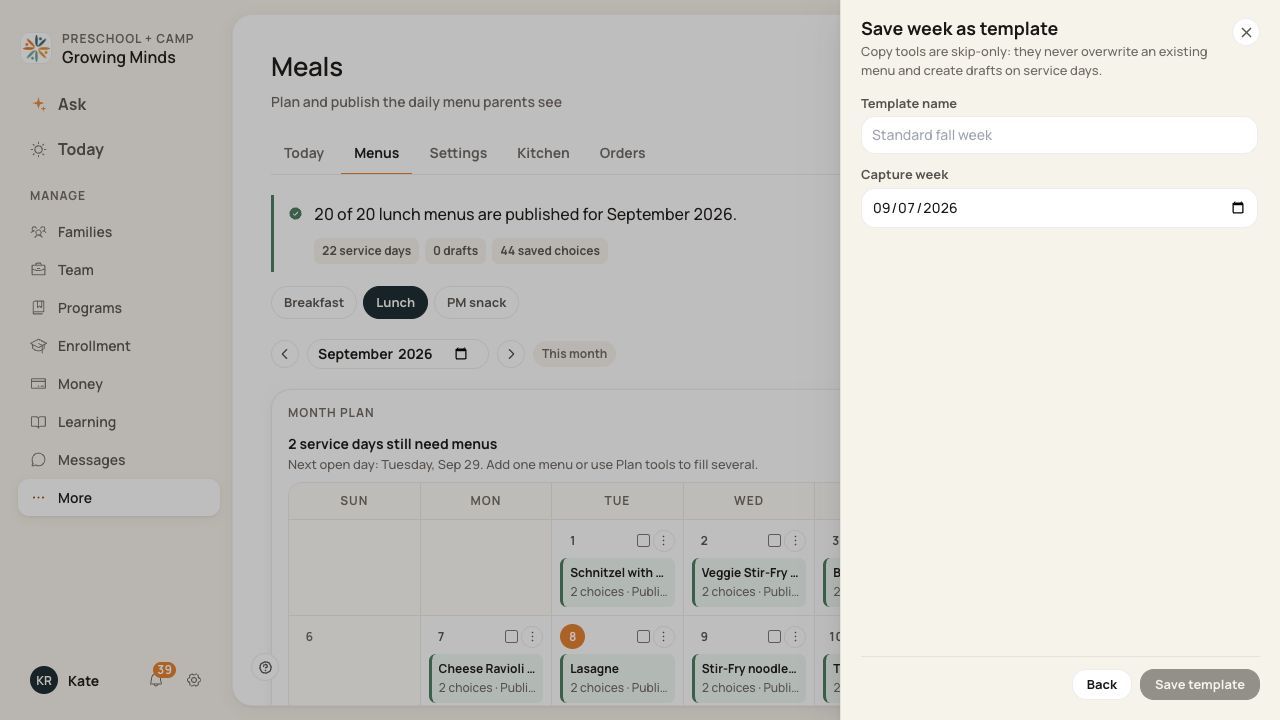
Use a name that helps staff recognize the week’s menu pattern.
2. Create the template
Review the source week and choose Save template. Find the saved template in the library. Saving a template does not publish new menus.
3. Apply it to a month
Open the template’s apply action, choose the destination month and review the meal-type scope shown. Confirm only after checking the target.
4. Review the new drafts
Read the result, inspect the target month and make date-specific changes before publishing.
Before you finish
Templates reuse a weekday pattern; they do not decide your holiday calendar.
Applying a template skips existing menus and creates drafts. It does not overwrite an already planned date.
If the template library says information is incomplete or refreshing, wait for it to load successfully before acting.
Related guides
Screenshots show an example center. Meal prices, times, service days and ordering policies depend on your center’s configuration.
Was this helpful?