Setting Up Meal Types, Times, and Pricing
Add a meal type for each service your center offers. You need permission to manage organization-wide meal settings.
Last updated About 2 hours ago
Add a meal type for each service your center offers. You need permission to manage organization-wide meal settings.
1. Open the meal settings
Go to More → Meals → Settings and choose Add meal type.
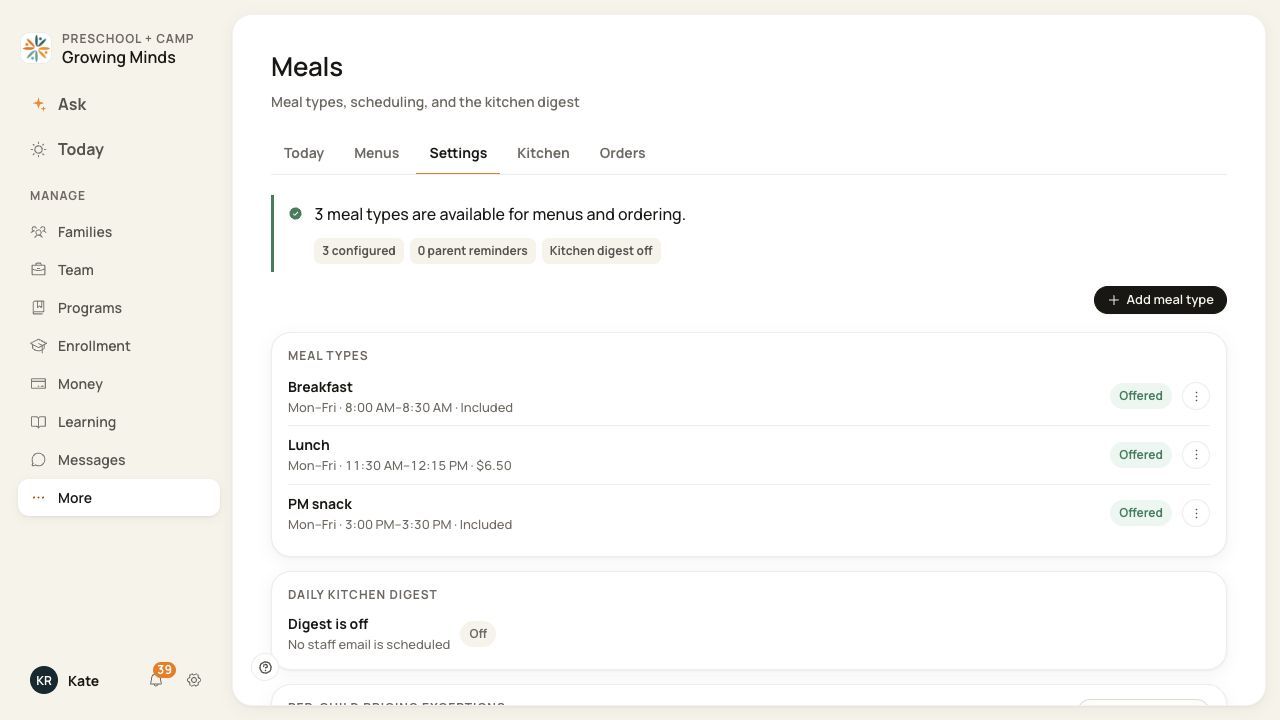
Add meal types from Settings.
2. Define the service
Choose the meal type, select its offered weekdays and enter the Service window start and end times. Check the ordering cutoff and any family-facing name.
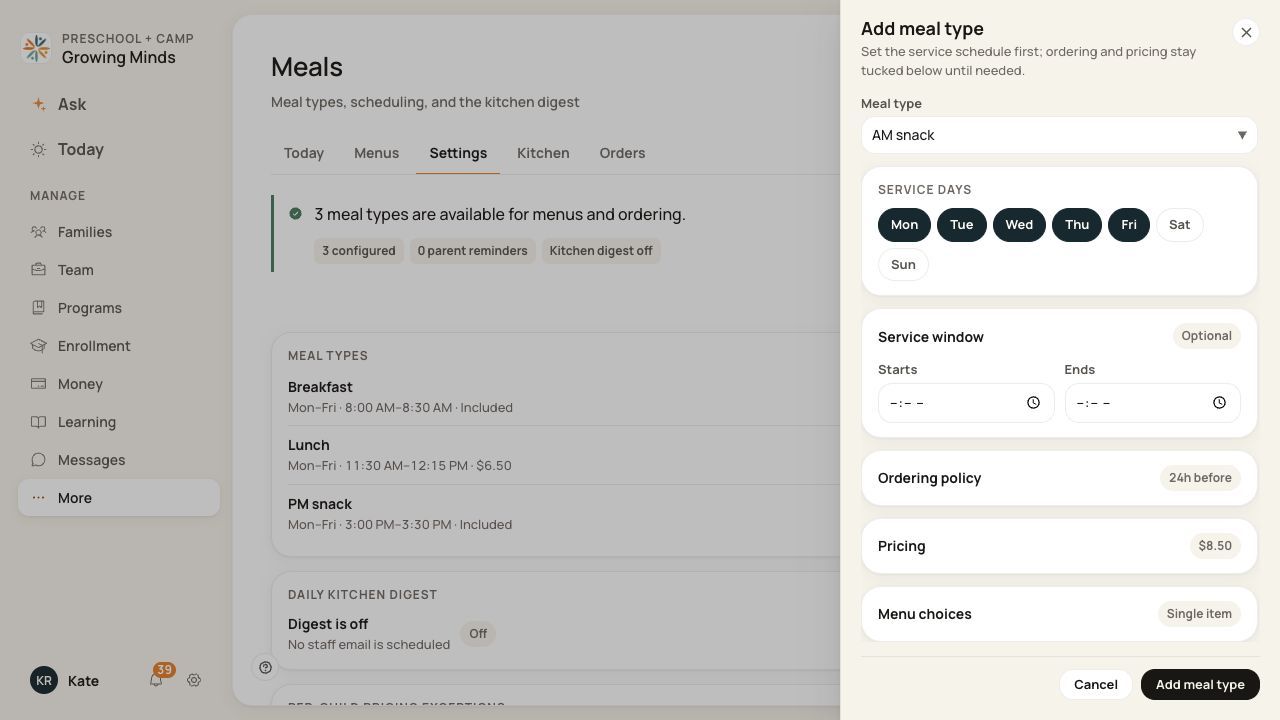
Choose the days and service window for this meal.
The ordering cutoff can be a number of hours before the meal, or a specific time on a chosen day — including the meal day itself. Choose Or a time, then set the Deadline day. Turn off the late-ordering surcharge if you want same-day ordering with no “late order” wording anywhere a family looks.
3. Choose the pricing model
Expand pricing. Select Included in tuition, Pay per meal, Subscription or School bills outside Bloomily, as appropriate. Enter the fields shown for that model. If you permit late ordering, review the late price and final deadline separately.
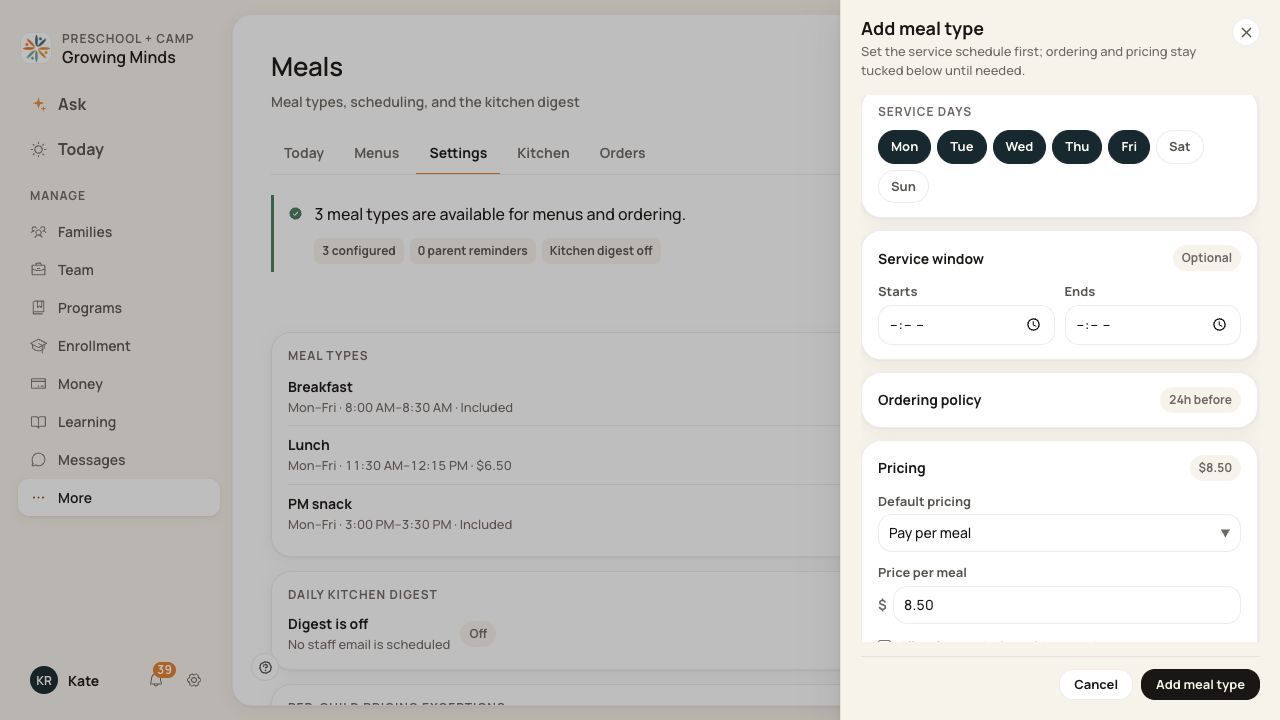
These are configurable pricing choices, not standard meal charges.
4. Review and save
Review choices and reminder settings if you use them, then choose Add meal type. Confirm the service appears in Settings with the intended days, times and pricing.
Before you finish
A meal price is a charge set by your center, separate from your Bloomily software subscription.
Do not enable parent reminders unless you intend those emails to be sent under the configured policy.
Changing a default is not a refund or an adjustment to an existing invoice. Review child exceptions separately.
Two more settings sit beside meal types in Meals → Settings, each its own card: Family acknowledgement (a short statement families confirm before their first order — see “How Families View Menus and Place Meal Orders”) and Always offered (dishes like a standing side that are added to every future published menu of that type automatically, without editing each menu one at a time).
Families can order many days at once with Order the month in their own portal. This is separate from Publishing a Full Month of Menus here in Admin OS — one publishes your menus, the other lets a family order against menus you have already published.
Related guides
Screenshots show an example center. Meal prices, times, service days and ordering policies depend on your center’s configuration.
Was this helpful?