Uploading and Sharing Photos and Videos
Add media, choose child tags and captions, and check approval before sharing through daily reports in Bloomily Center on iPad.
Last updated About 3 hours ago
Use Media in Bloomily Center to add photos and videos, connect them to children, and use them in daily reports. This guide shows the iPad in landscape.
Before you begin, check your center’s photo permissions and the children visible in the picture. Use media that is appropriate to share with those families.
1. Open Media
Tap Media at the top of the screen. On the Photos tab, tap the + at the top right.

Open Media in the top navigation.

Tap the plus button to add media.
2. Choose a photo or video
Take Photo: use the iPad camera to take a picture.
Record Video: use the iPad camera to record a video.
Choose from Gallery: choose a photo or video already on the iPad.

Choose the source that matches your media.
If iPad asks for access to the camera, microphone or photos, allow the access needed for your choice. Review the photo or video before continuing. The flower below is a sample gallery photo.
3. Review and upload
Check the preview in Add Media. Tap Upload at the top right when it is correct. Wait for the upload to finish, then find the item in Media. Use Cancel if you do not want to upload it.
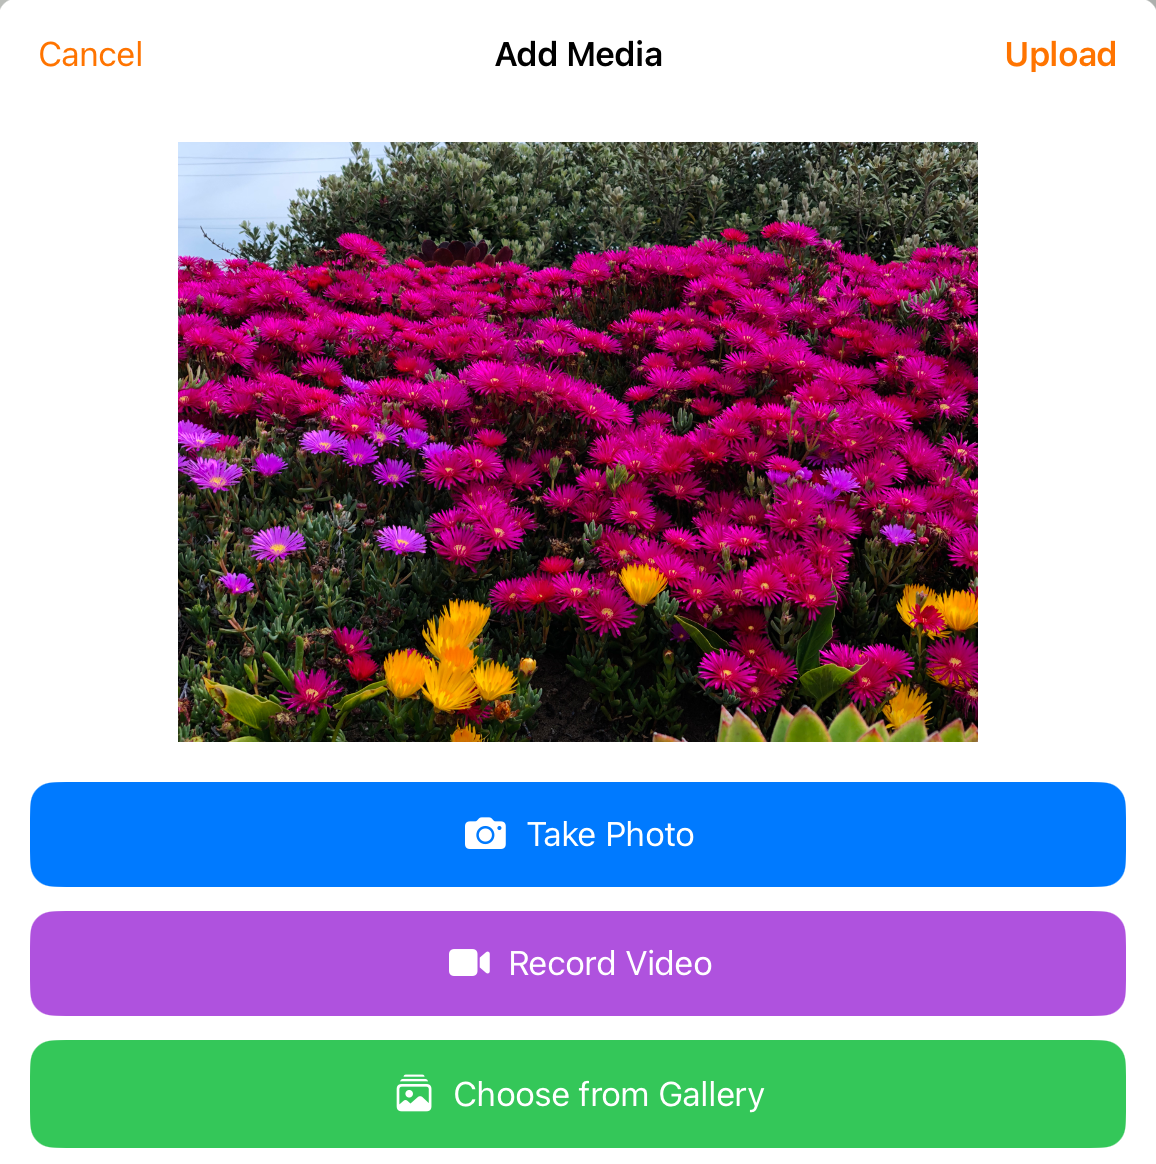
Check the preview before tapping Upload.
4. Find and select your media
Use Mine to find your uploads, or Everyone to browse the media available to you. Use Photos or Videos to narrow the list. Untagged helps you find items that still need child tags.

Use the filters to find the item you want.
Tap the selection circle on the photo or video. A blue check mark shows it is selected. You can select several items when they need the same child tags.
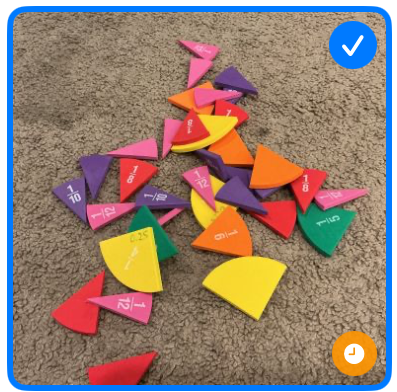
Check the selected items before applying a group action.
5. Choose the children
Tap Tag in the bottom bar. In Select Children, choose the children the media belongs to. Use a room filter if helpful. Check the names, then tap Next.

Tap Tag to connect the selected media to children.
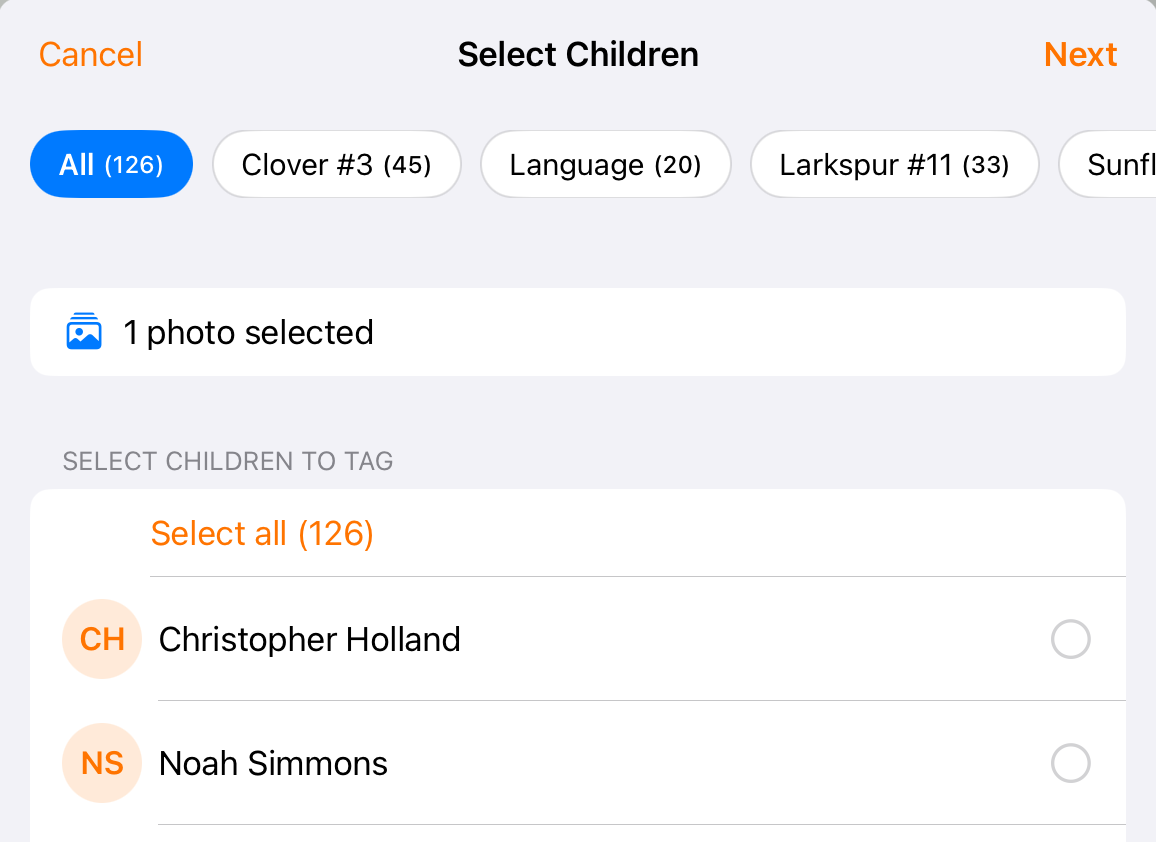
Choose the intended children, then tap Next.
6. Choose how to use the media
For a photo or video you want to add to the daily report with a caption, choose Tag Children.
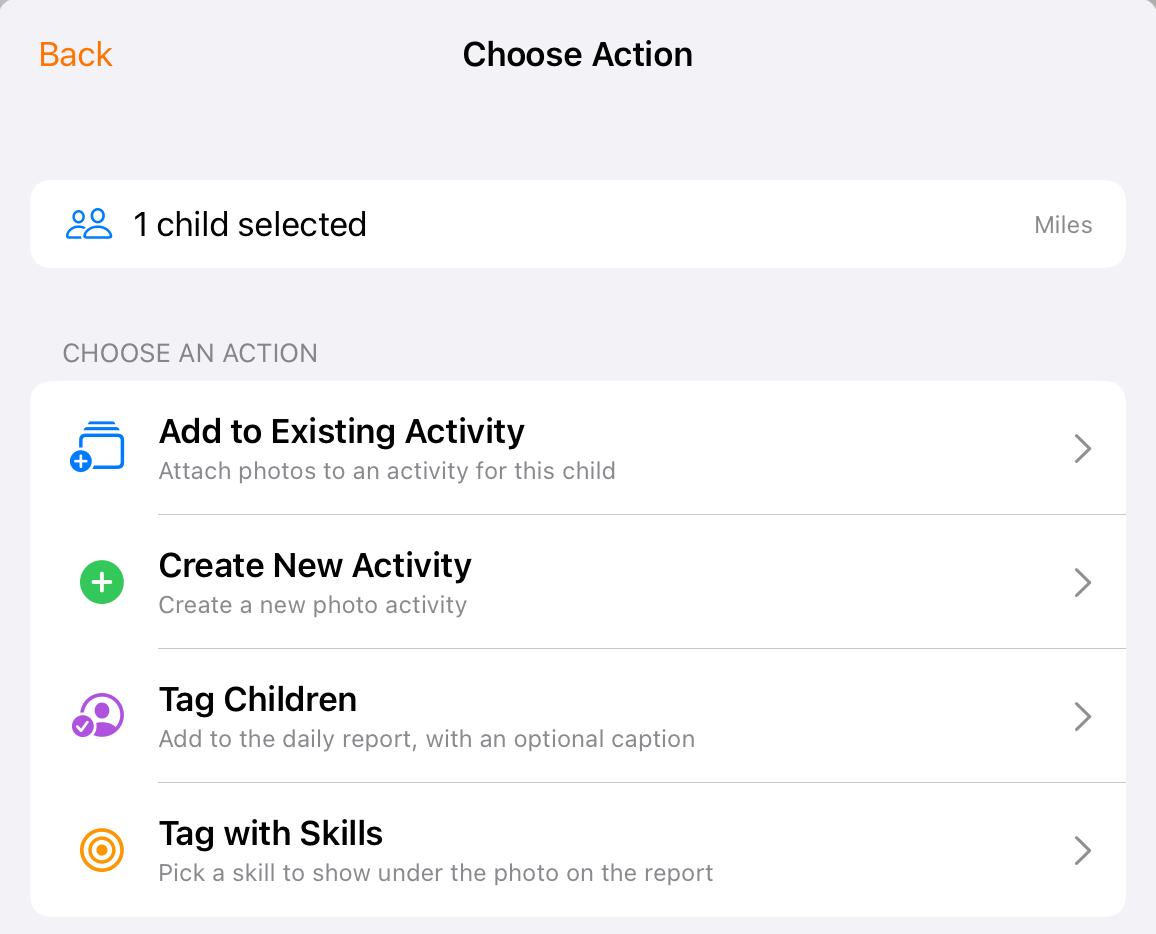
Tag Children opens the optional caption step.
The other choices shown may include Add to Existing Activity, Create New Activity, or Tag with Skills. Use these when you want the media connected to an activity or learning skill. Available choices can depend on how many children you selected.
7. Add an optional caption
Write a short caption that families can understand. Check the child count and names. Choose Tag with caption to use your text, or Tag without a caption to continue without one. Use Back if the selection is wrong.
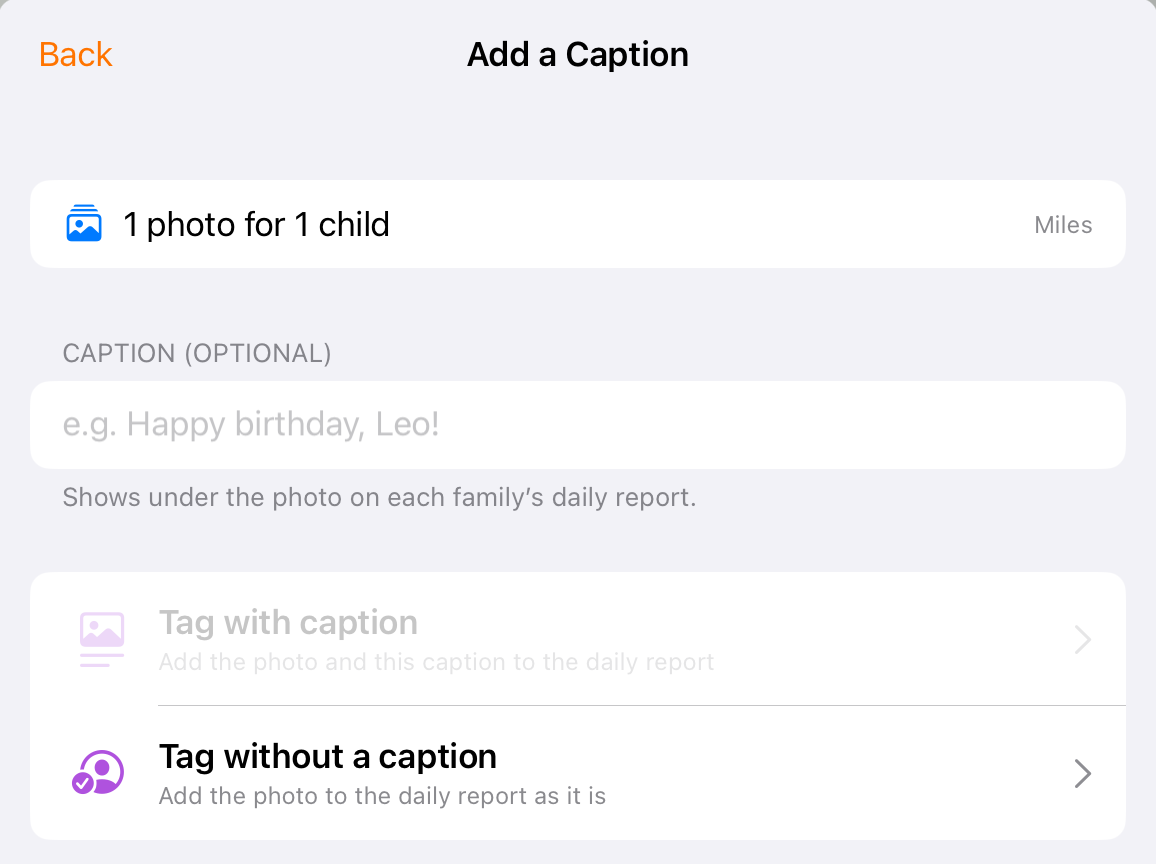
The caption appears under the media on the family’s daily report.
8. Check approval and the daily report
An orange clock badge means Awaiting approval. If your center reviews media, ask the reviewer to check it. Pending media is not ready for families to see. A label of Not shared also needs attention.
After tagging, review the child’s day and follow your center’s report-sending routine. Uploading or tagging an item does not, by itself, confirm that a daily report has been delivered. Ask your director which report-sending routine your center uses.
Albums and saving to the iPad
With media selected, Album lets you choose an album or create one. Check its audience before adding anything: the chooser can include classroom, program and school-wide albums. An album is a separate sharing choice from a child’s daily report.
The Save button in the media action bar saves media to the iPad’s Photos library. It is not a send-to-families button.
If something does not work
You cannot find the upload: check Mine, clear filters and check your connection. If an error appeared, retry after fixing it.
Next is unavailable: choose at least one child.
Tag with caption is unavailable: enter a caption, or use Tag without a caption.
A family cannot see an item: check the upload, child tags, approval status and report delivery. Ask your director to check the child, item and date if it is still missing.
Need help? Contact support@bloomily.app.
Walkthrough: Adding Captions to Photos
Open the relevant media item and choose Edit caption.
Enter the caption and save it. Check the caption on the saved item.
Access depends on your role and room permissions. A caption change does not determine who can see the album; check the album audience and any approval requirements separately.
The recording uses one center’s example data and settings. Names, amounts, dates, counts and policy choices are examples. Follow the written guidance above where recording labels differ.
Was this helpful?