Reviewing, Adding Notes, and Sending Daily Reports
Review each child’s day, add the right family message, and check the send confirmation before delivering a daily report.
Last updated About 2 hours ago
Review each child’s day, add the right family message, and check the send confirmation before delivering a daily report.
Workflow: Review → Add family notes → Check confirmation → Send and verify
1. Review one child and the correct date
On Today, select one child and tap Activity report. Use the date controls to review the intended day. Check attendance, activities, photos and any missing or incorrect information. Correct an activity before sending.
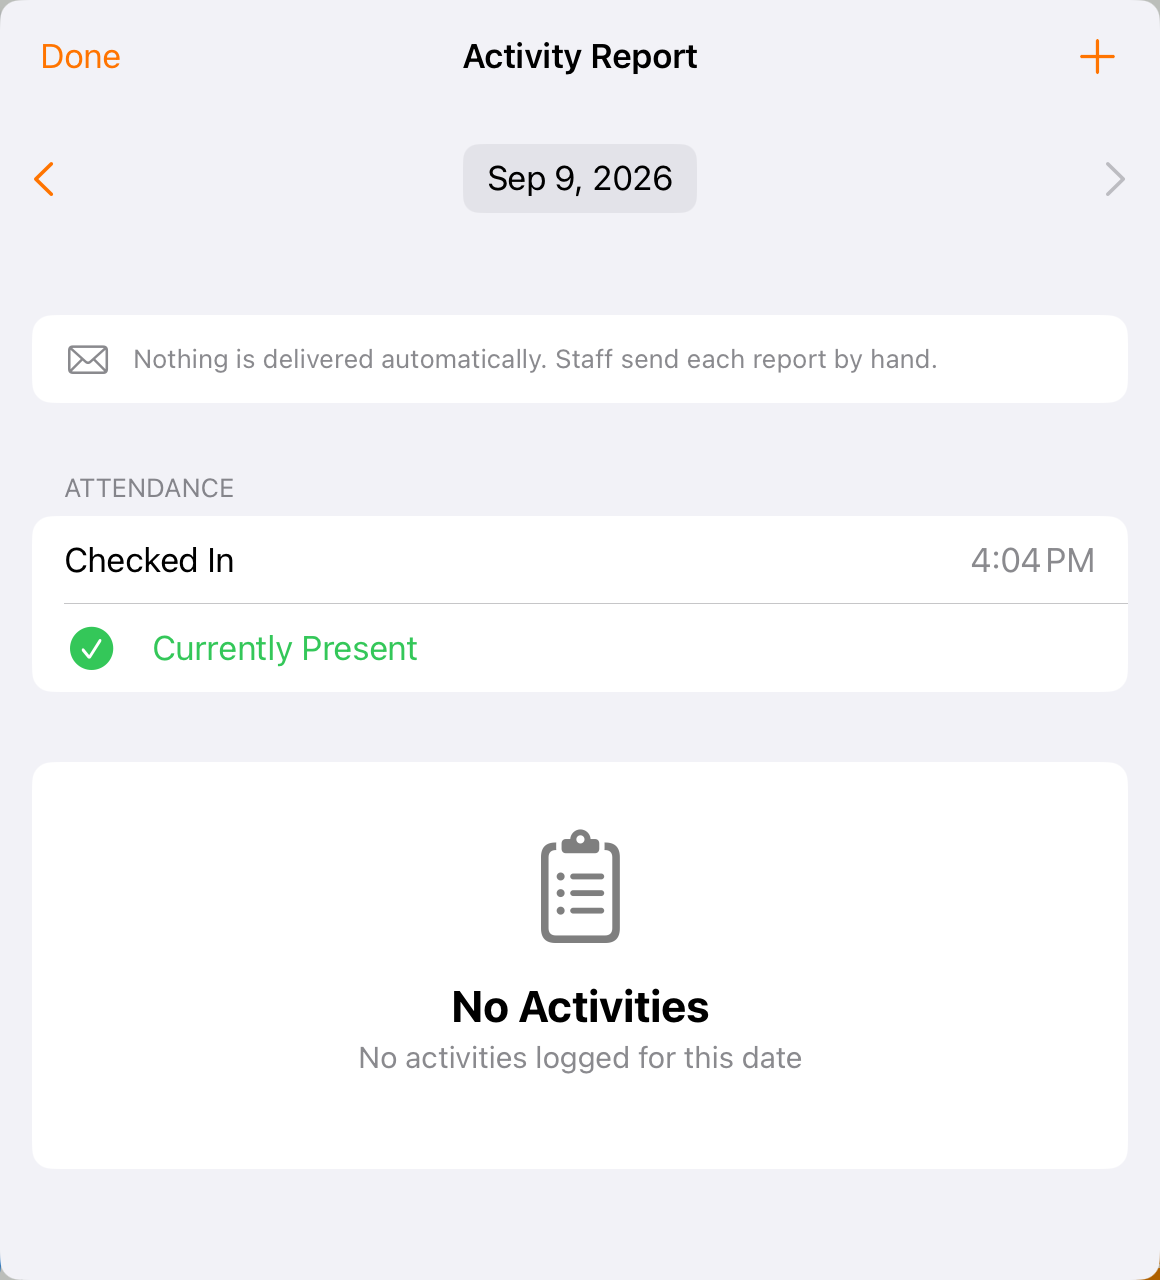
Check the date and the content of the child’s report. This example has no activities yet.
2. Add notes for families
Return to Today and open Notes. To every family adds a room-wide message to each child’s report for that day. Just this child adds a message only to the named child’s family. Verify the room, day and child before saving.
Each box holds up to 2,000 characters.
To every family is one note per room per day, and saving again replaces it. It is a single note rather than a running list, so check what is already there before you save over a colleague's message. Just this child is one note per child.
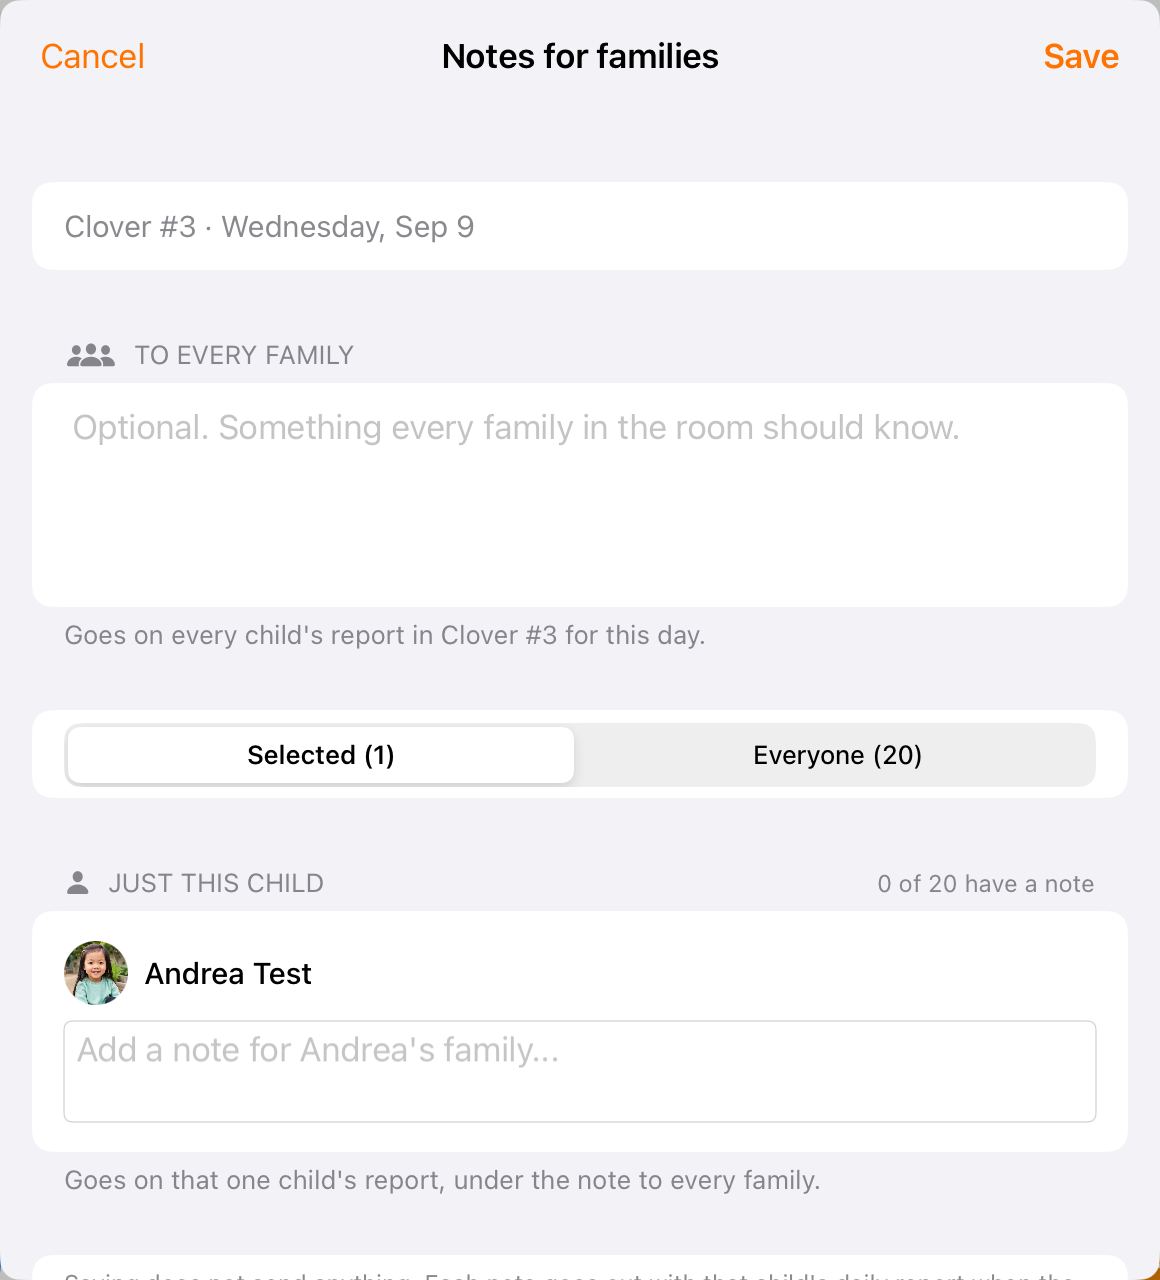
Room-wide and child-specific notes have different audiences. Saving notes does not send the report.
3. Open the send confirmation
Select the intended children on Today and tap Report. Read the confirmation: it identifies reports to send, updates to already-sent reports, and children who will be skipped. The Today send action is for today; check dates when reviewing older reports.
4. Resolve warnings before sending
If photos are waiting for approval, review them through your center’s process or explicitly acknowledge sending without them when the confirmation offers that choice. Children with nothing logged do not receive an empty report. The confirmation can also identify children without attendance for the day.
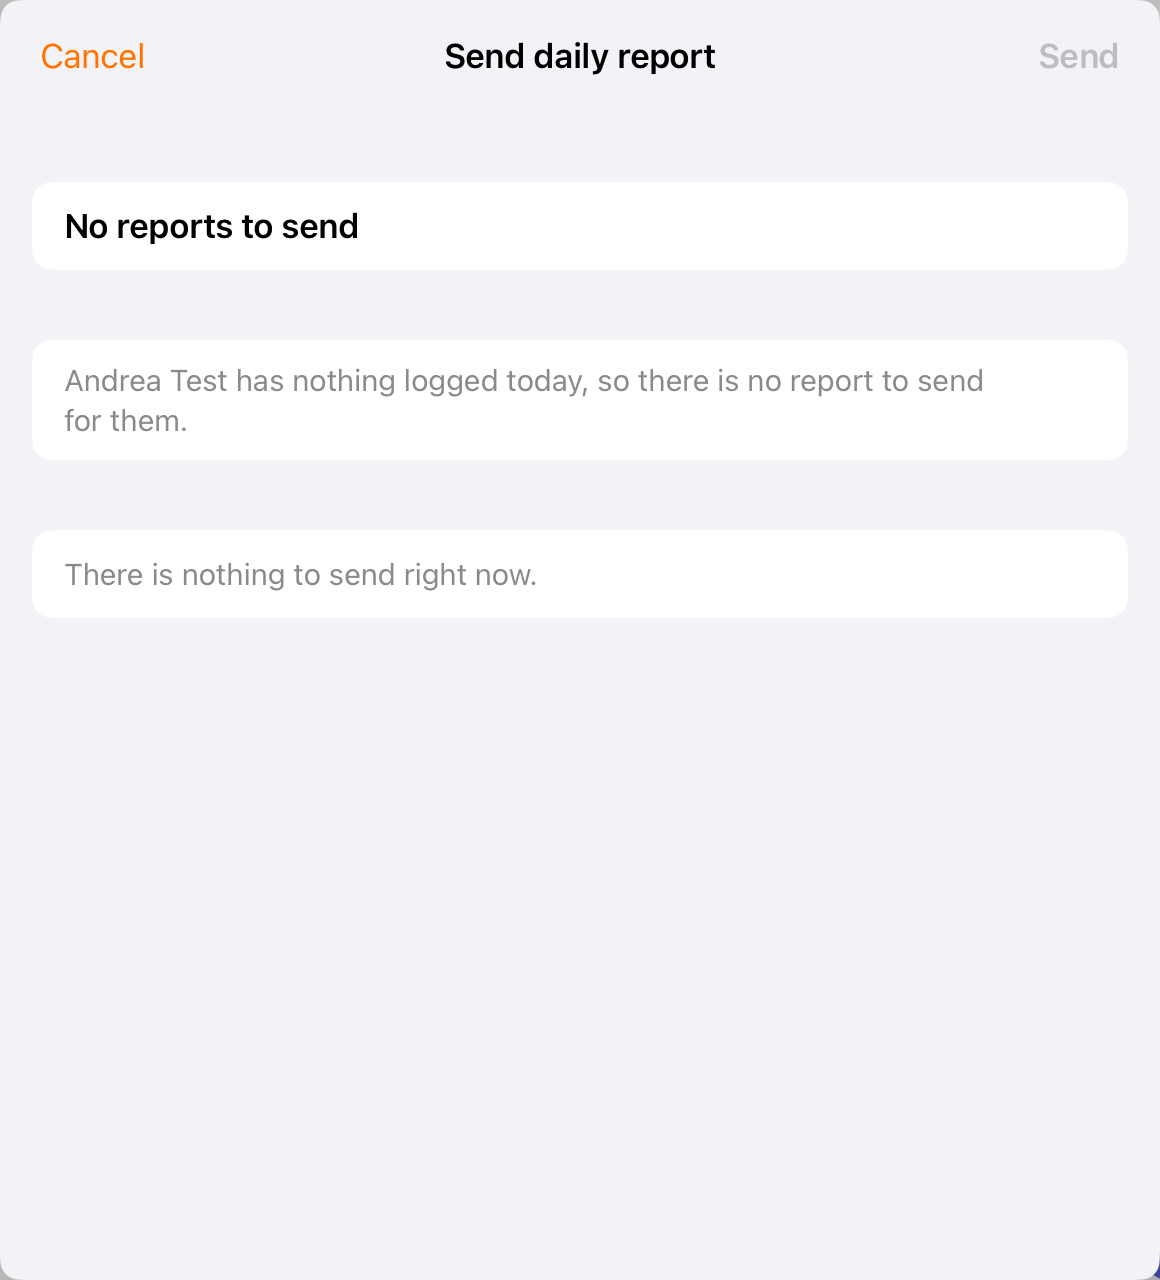
Bloomily names a child with nothing logged instead of creating an empty report.
5. Send and read the result
When the confirmation is correct, tap Send. Wait for the result and read any child-specific warnings or failures. Confirm the status for the intended children; do not treat opening the confirmation as a completed send.
6. Follow your center’s delivery setup
Read the delivery sentence displayed in the app. Manual and automatic delivery depend on your center’s settings. Where Ready to send is available, it marks a report as reviewed; it does not itself send a report.
Centers set delivery to one of four:
The fourth mode is why Ready to send matters. Marking a report ready never delivers it on its own — but at a center using that mode, a report that has not been marked ready will not go out at checkout either. Know which mode your center uses, and if you are unsure, ask an administrator rather than assuming.
Before you finish
Room-wide notes go on every child’s report in that room for the day, even if you began with one selected child.
Approval-held photos are excluded until approved; a send acknowledgement does not approve them.
Delivery controls may be unavailable when your access or the center’s settings do not allow sending. Ask an administrator to check instead of assuming every organization uses the example’s manual-delivery mode.
Related guides
Screenshots show an example center. Delivery, permissions and learning frameworks depend on your organization.
Was this helpful?