Understanding What Happens When Scheduled Hours Are Used
Schedule fill creates a starting point for review; it does not prove the planned work occurred.
Last updated About 3 hours ago
Schedule fill creates a starting point for review; it does not prove the planned work occurred.
1. Use published shifts
The tool reads the published schedule for the selected dates, not an unpublished planning draft.
2. Review what is omitted
Existing timesheet days are left alone. Time off, missing times, overnight-style invalid ranges and unresolved multiple shifts are omitted or reported for review.
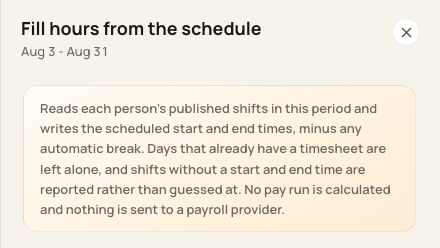
Read the preview and omission messages before confirming.
3. Check breaks and exceptions
Approved late arrival or early departure can narrow the shift. Scheduled unpaid blocks determine deductions when applicable, including a deliberate zero for a paid lunch; automatic deduction is a fallback.
4. Check the filed entry
Review the saved times and source/notes. A schedule change afterward does not replace a timesheet already created for that day.
Before you finish
Do not use an absence approval as proof that paid-leave hours were added.
No payroll run is calculated or sent by this fill action.
Related guides
Screenshots show an example center. Pay periods, approval, rounding, breaks and overtime settings depend on your organization’s configuration.
Was this helpful?